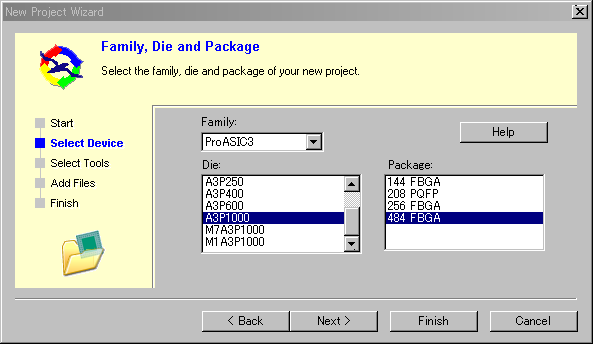
As an example, we select ProASIC3.
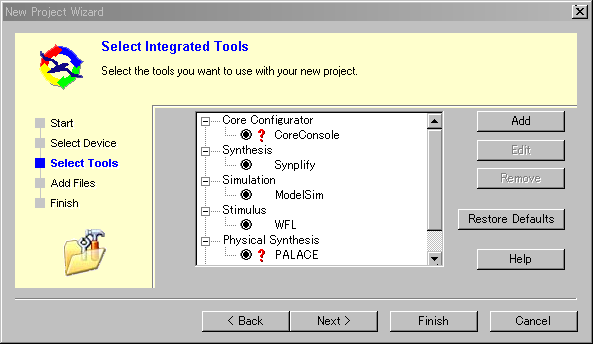

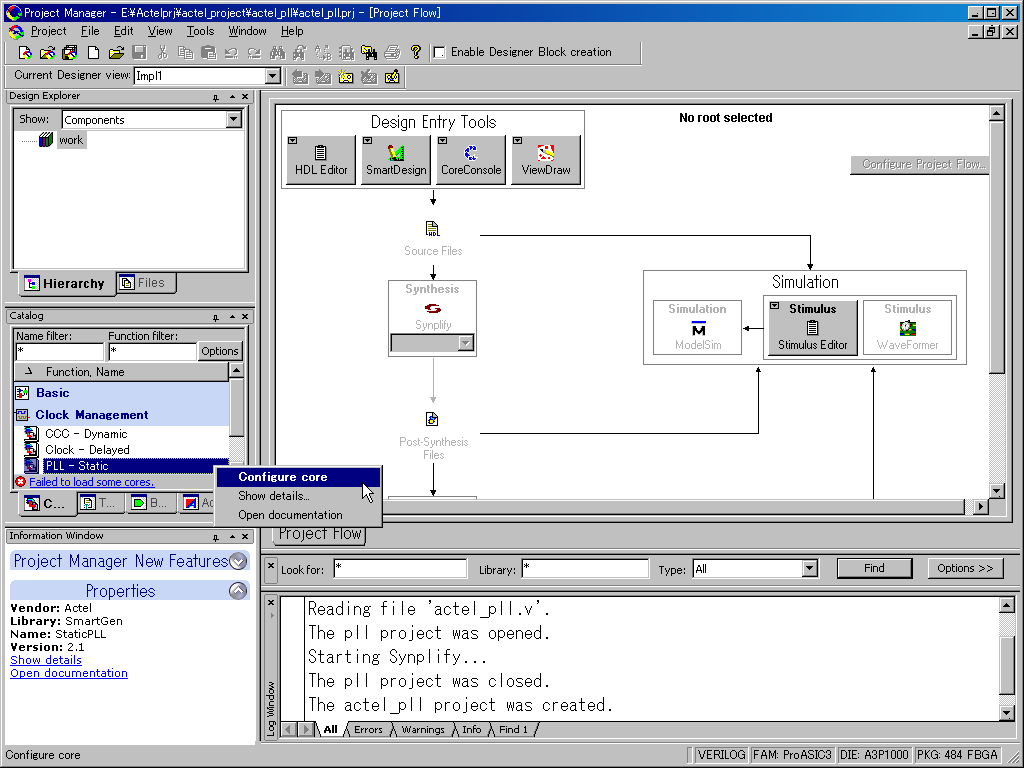
Next, we make PLL core.
5.3.1 Actel PLL
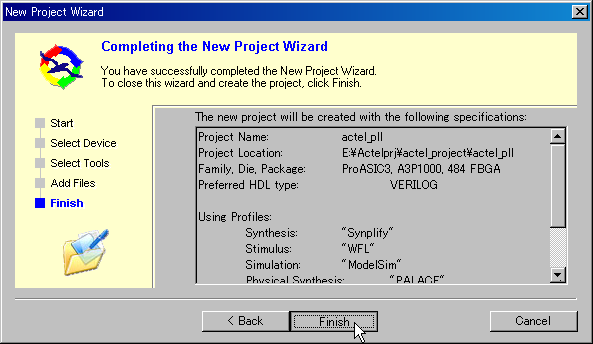
5.3.1.1 Actel Project
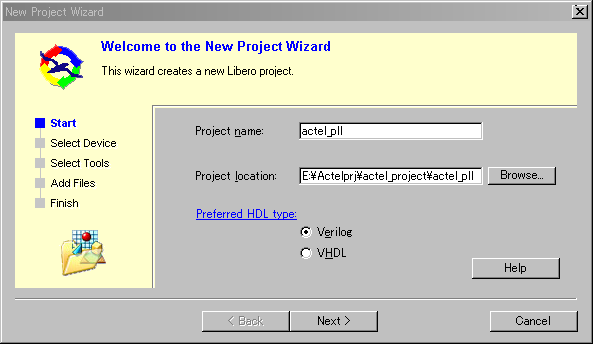
First, we make actel project.
As an example, we select ProASIC3.
Next, we make PLL core.
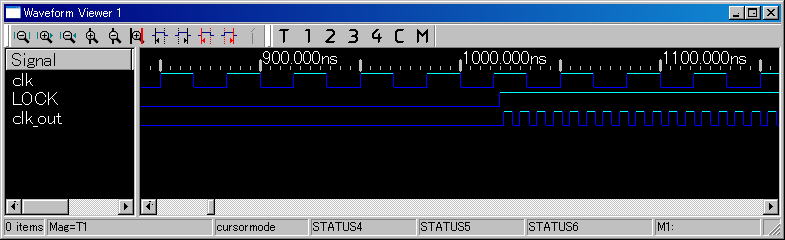
We expect 133MHz output.
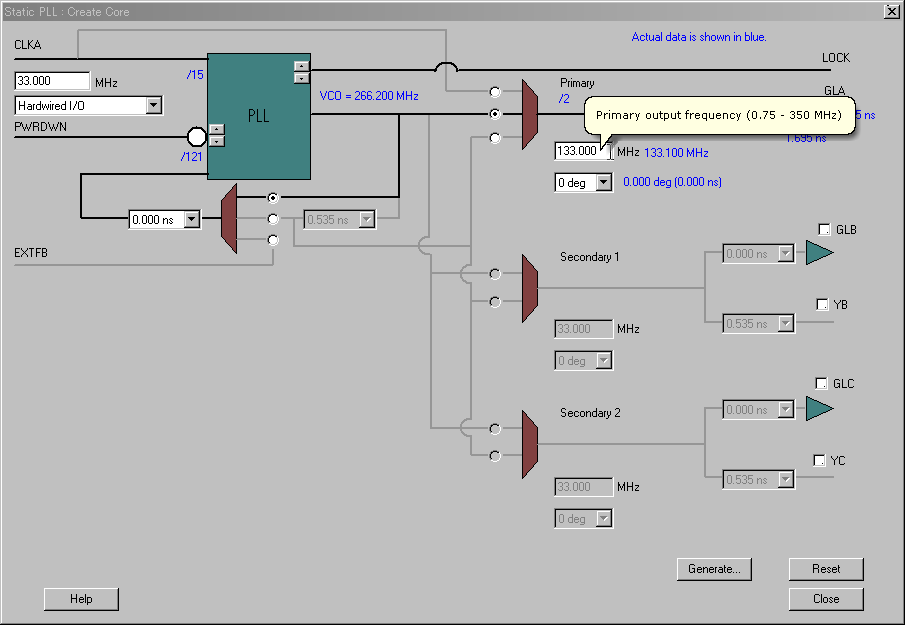
Save as actel_pll. (resuts actel_pll.v)

5.3.1.2 Veritak Project
Genrerated core should be found in the folder under "actel_pll\smartgen\actel_pll"
as actel_pll.v
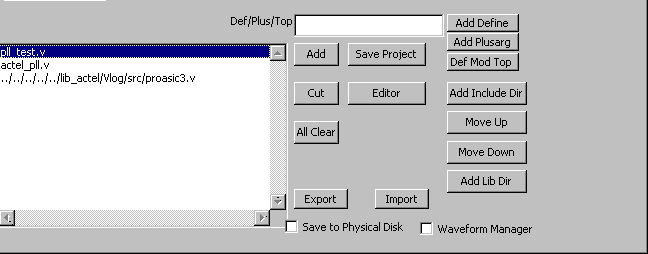
With test bench and the library of ProASiC3, we can make the project of RTL simulation on Veritak
Here are files for the project, "pll_test" is test bench
, "proasic3.v is library of ProASIC3 under "Libero\Model\actel\Vlog\src".
Here is a simulated waveforms

5.3.1.3 Synthesis/Layout/Backannotation
Press Synthesize button.
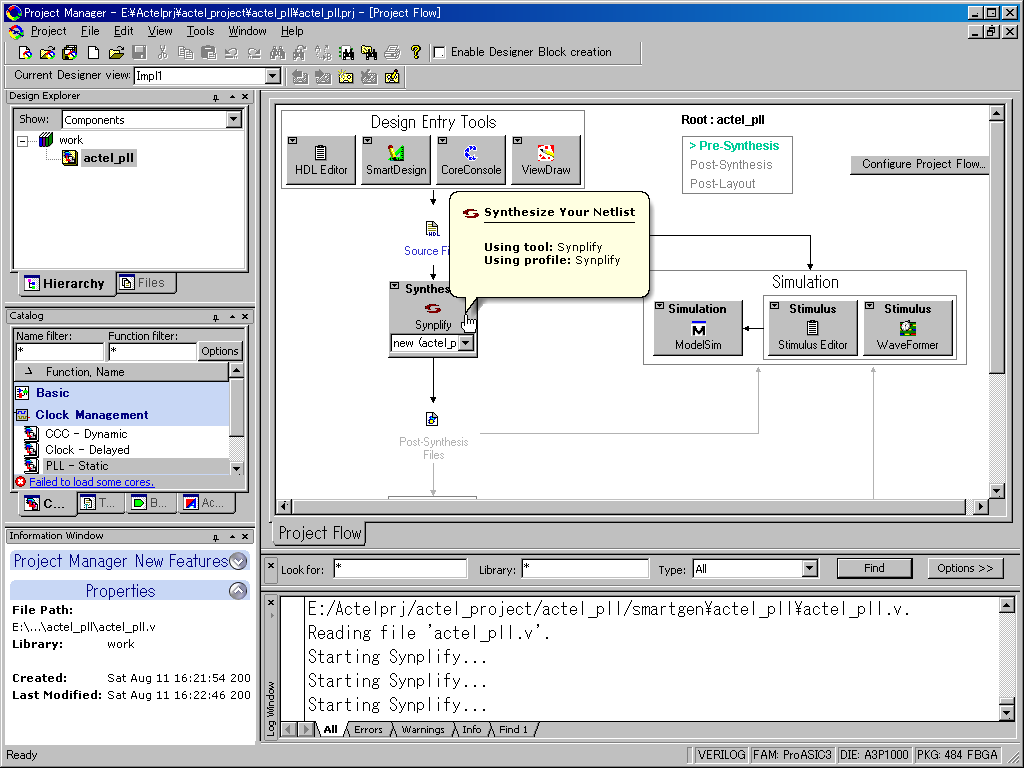
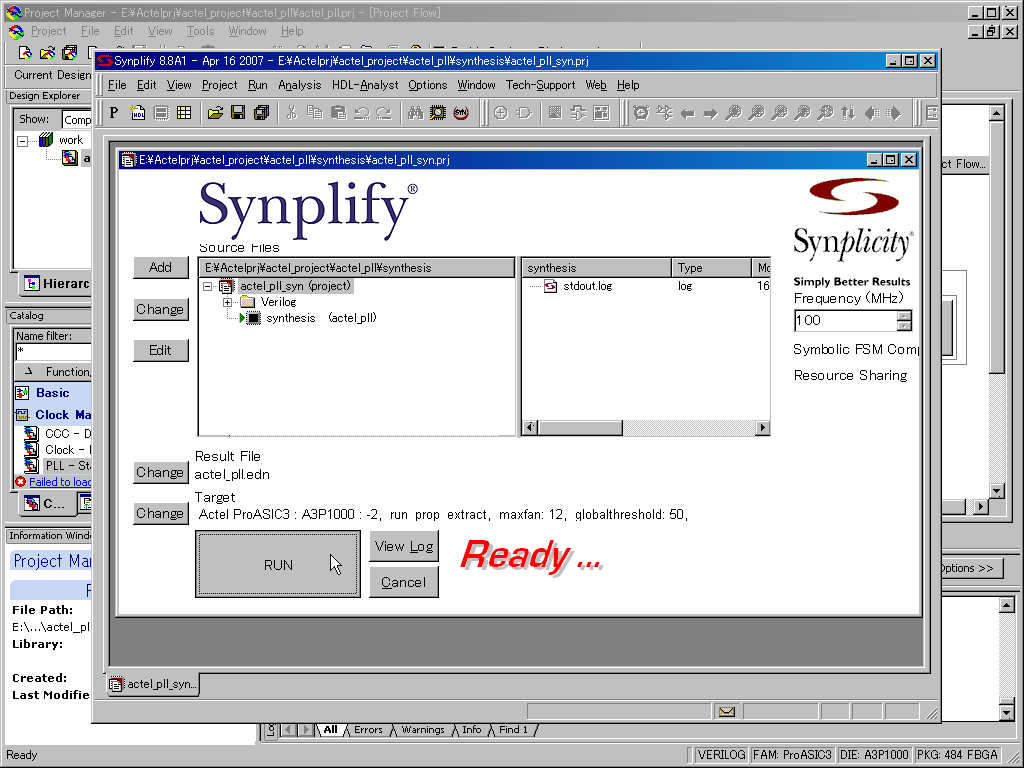
Then Synplify(R) will be appeared. Press Run.
After synthesis, press Compile button below.
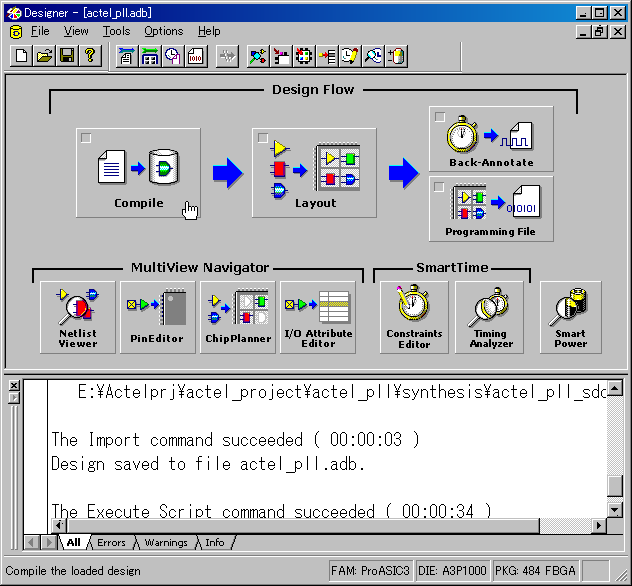
Then Layout and Back-Annotate so on.

5.3.1.4 SDF Delay Simulation.
As a result of synthesis, synthesized verilog file (actel_pll_ba.v)
and SDF file (actel_pll_ba.sdf) are generated under "\actel_pll\designer\impl1".
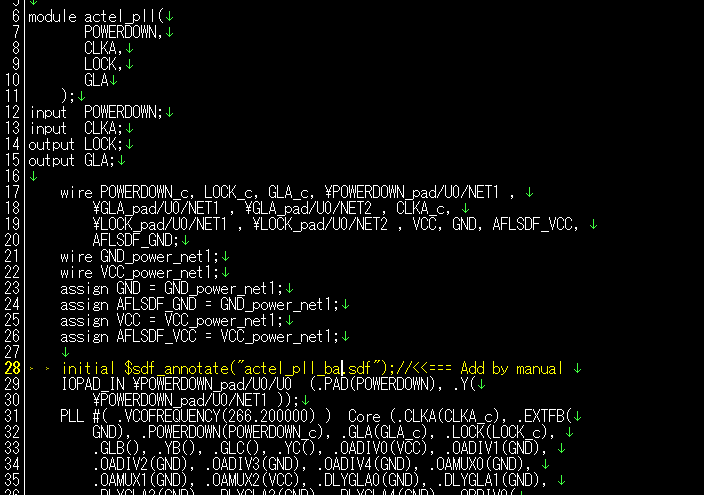
In the synthesized source file, there is no $sdf_annotate.. So, we must
add it by manually. Please add as below.
So the project files looks like as follows. One note is the project file
should be the same folder as sdf/generated files.
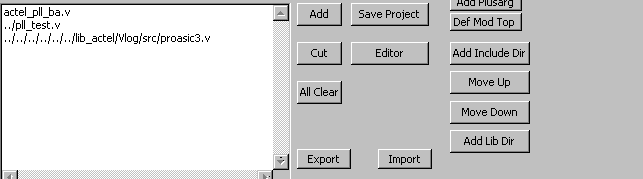
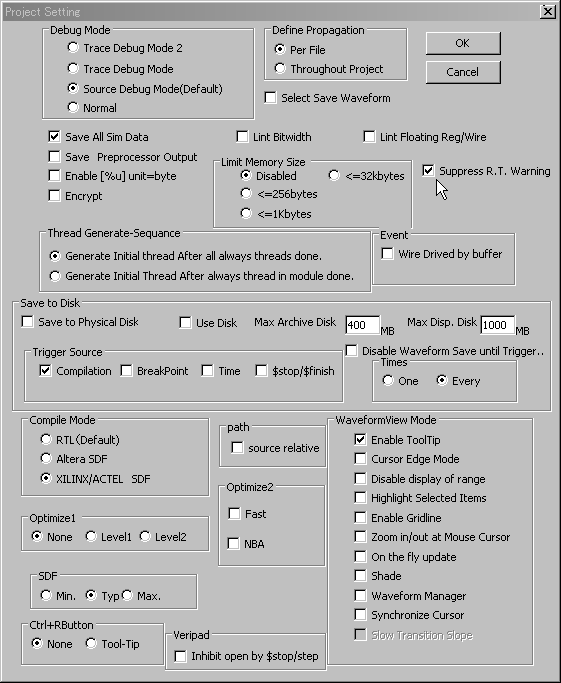
Second note is compile-mode should be Xilinx/Actel mode in sdf delay simulation.
Third, there may be a case that so many sdf warnings are observed. Check
Suppress R.T. Warning in that case as below.
Finally, you can see simulated waveform as below.